- MuMu berhenti merespons saat memuat atau membeku pada 40%
- MuMu berhenti merespons saat memuat atau membeku pada 100%
- MuMu stops responding while loading or freezes at 45%
- MuMu stops responding while loading or freezes at 30%
- MuMu stops responding while loading, freezes at 99%, or prompts a reason unknown error
- MuMu stops responding while loading or freezes at 10%
- PC masuk ke layar biru setelah memulai emulator
- Desktop emulator memiliki layar splash dan ikon diagonal
- Desktop menjadi ukuran yang berbeda setelah memulai emulator dan tidak berfungsi dengan baik
- Program Berulang tidak merespons
- Installation & Startup Error Codes
- Way to solve Graphics spec. too low for dx 11.0 or OpenGL 4.3
- The Emulator Failed to Respond
- Enable VT on Biostar
- Enable VT on Maxsun
- Enable VT on Jetway
- Enable VT on Soyo
- Enable VT on Colorful
- How to enable VT
- Enabling VT in Toshiba PCs
- Enabling VT in MSI PCs
- Enabling VT in Lenovo PCs
- Enabling VT in HP PCs
- Enabling VT in Gigabyte PCs
- Enabling VT in Dell PCs
- Enabling VT in ASUS PCs
- Enabling VT in ASRock PCs
- Enabling VT in Acer PCs
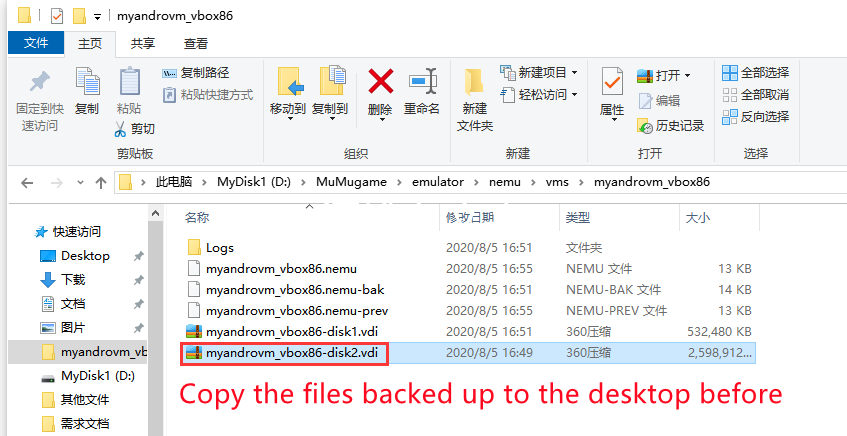
Guidelines for backing up game and application data files (Applicable to switch from 32-bit to 64-bit version)
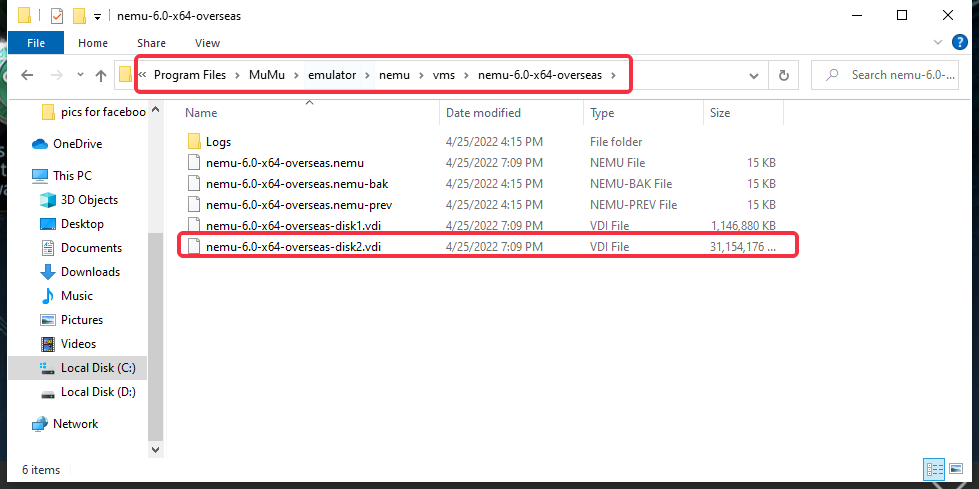
1. Enter the emulator installation directory, find the “myandrovn-vbox86” folder, copy the “...-disk2” file to the desktop, and then uninstall the emulator;
2. Install the new MuMu emulator, download the import tool (>download here< ) and unzip it.
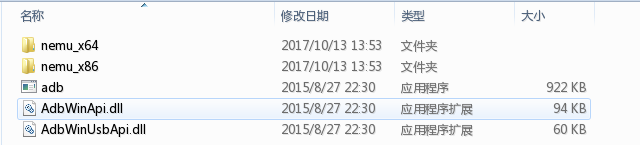
3. Copy all the files in the folder corresponding to the computer system. A 64-bit computer corresponds to the nemu_x64 folder, and a 32-bit computer corresponds to the nemu_x86 folder; the files in the folder are shown in the figure:
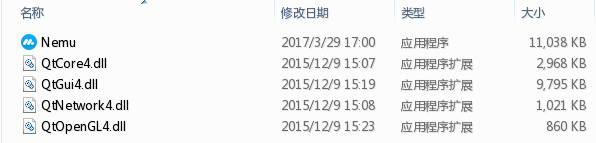
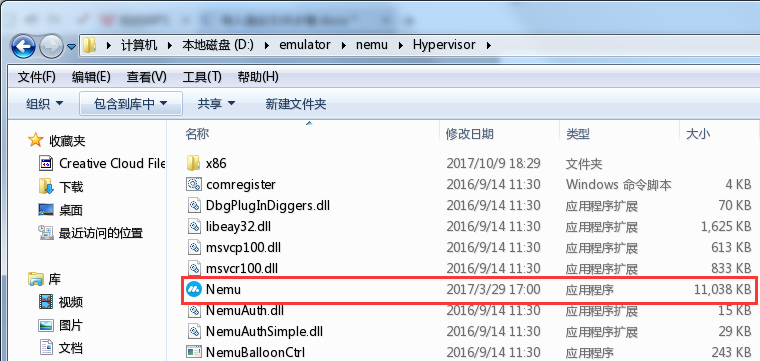
4. Paste the copy files into the Hypervisor folder under the MuMu installation directory (32-bit is>>C:\Program Files (x86)\NemuVbox\Hypervisor, 64-bit is >>C:\Program Files\NemuVbox\Hypervisor );
5. Open the Nemu application. Please make sure that the MuMu is closed before opening it.
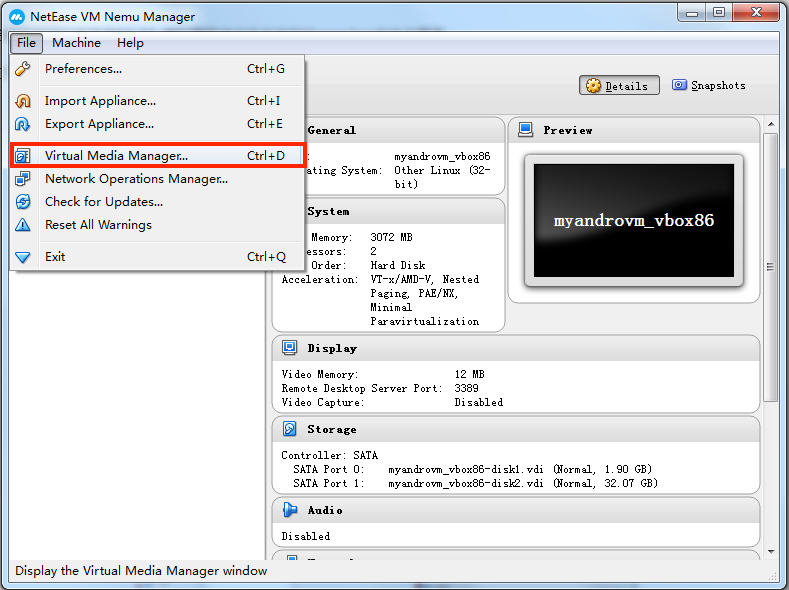
Click file to select Virtual Media Manager,
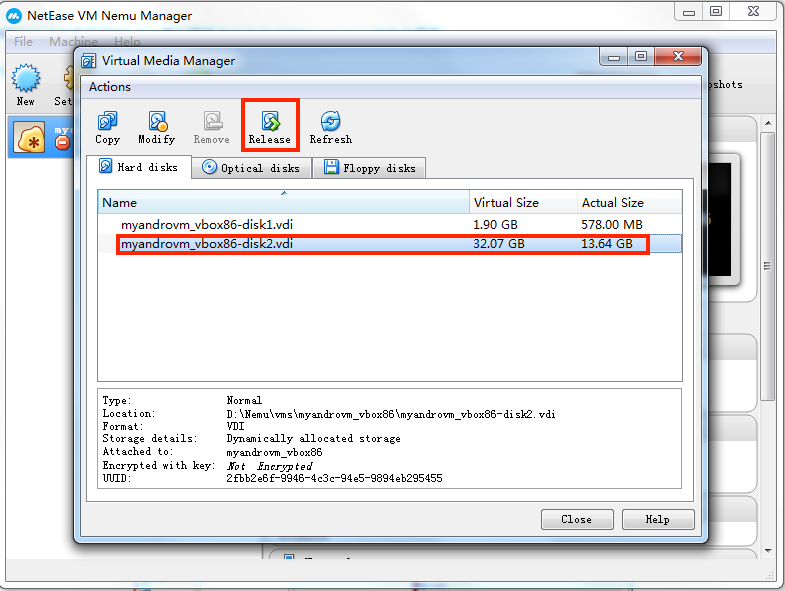
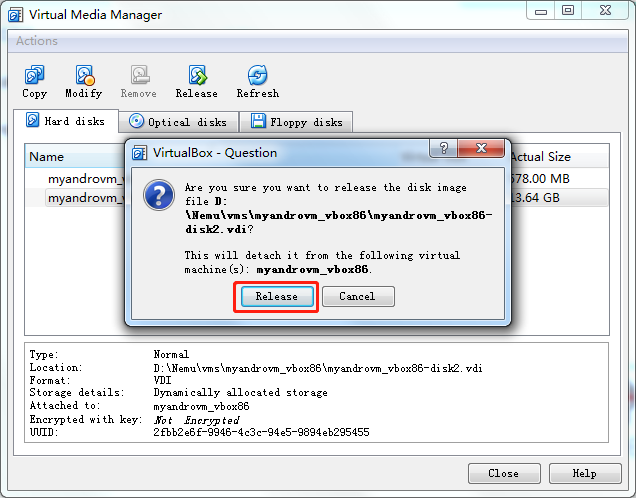
Select the disk2 data disk, click Release first, and then click Remove

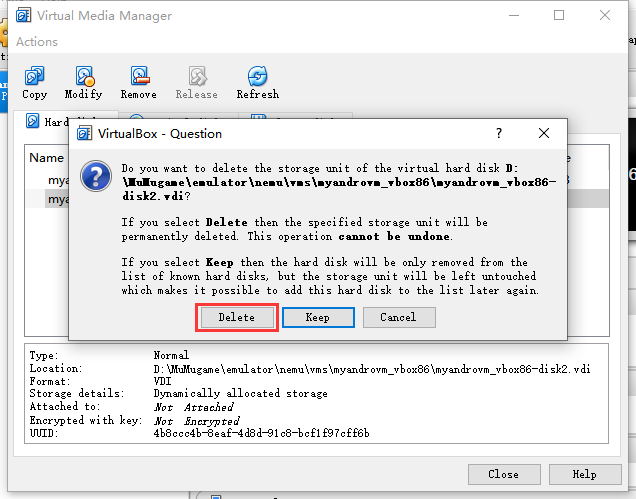
6. Open the “myandrovn-vbox86” folder, you can see that the -disk2 file inside has been deleted, copy the previous -disk2 file to this folder. Make sure that the name of the newly replaced file is the same as the original's, otherwise it will cause loss of disk data .
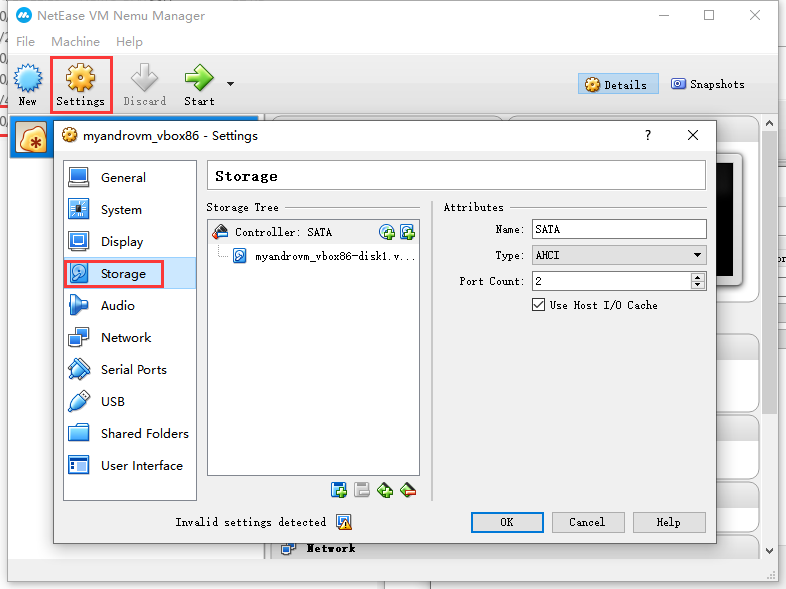
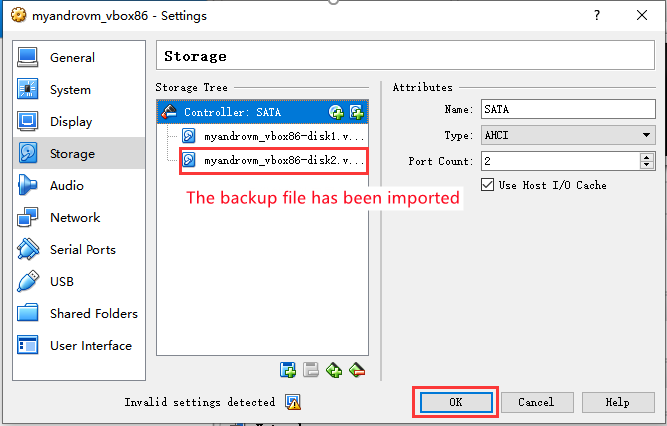
7. Click setting, select Storage;
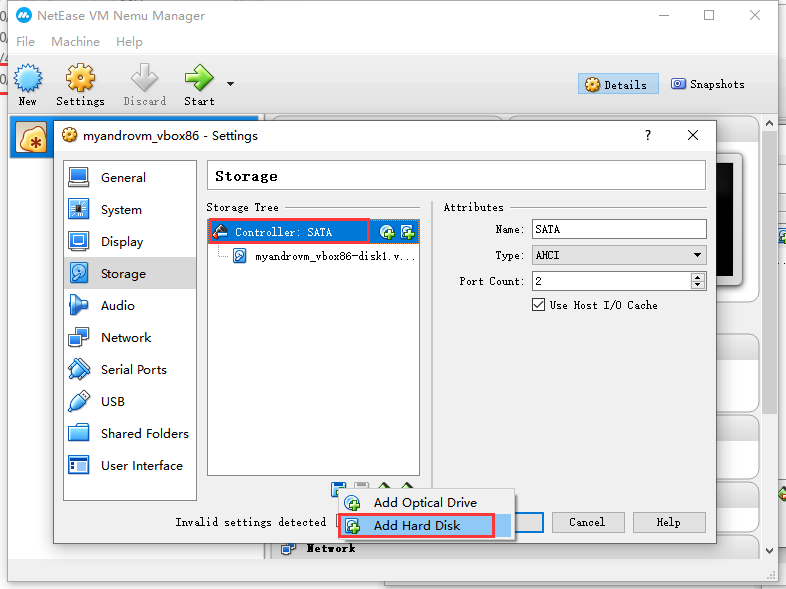
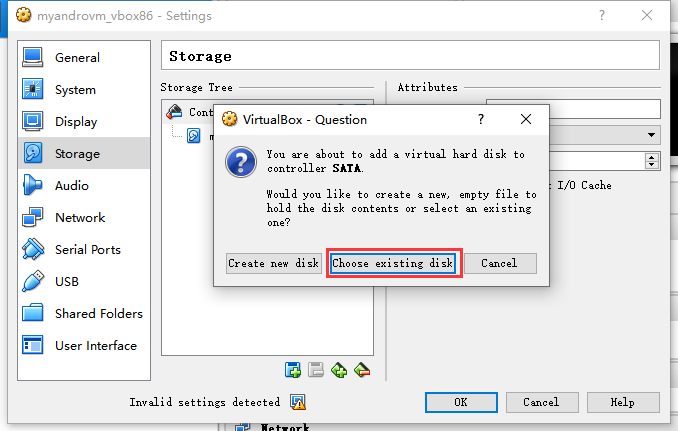
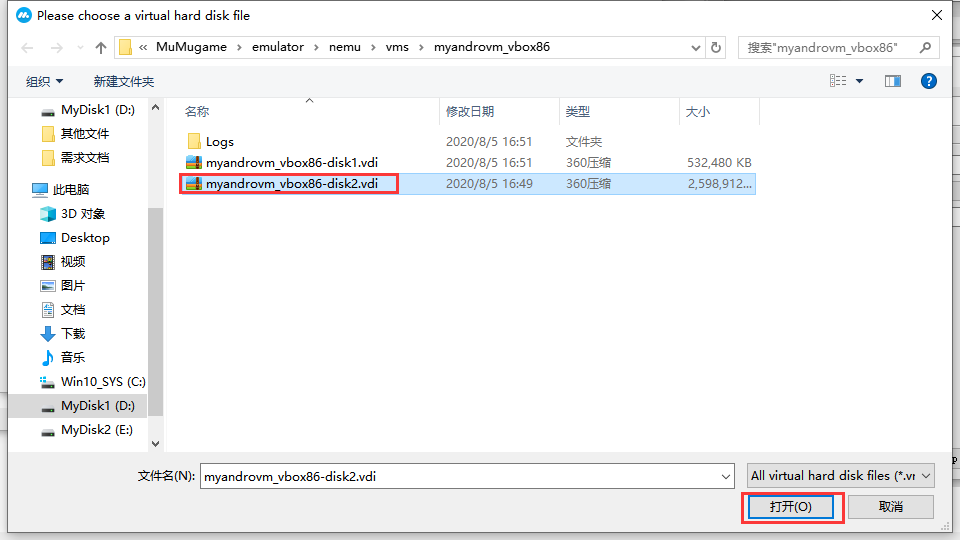
Click the red box option in turn, and select the second option "Select Existing Hard Disk" in the pop-up window.
Select the -disk2 file copied here before and click OK
Finally, after the completion of the disk2 disk import, close the tool, open the emulator, you can see the backup games and applications.
PS: If the prompt "Network problem has been resolved, please restart" appears after importing, there is a problem with the connection between the imported package and the emulator, please try the above tutorial again.
Consult "online customer service" via Messenger and get more help